Shrinking Windows Partitions Past 50%
I’ve been on a bit of a SSD kick lately. The prices have finally dropped low enough that I can justify a moderately sized SSD in each of my commonly used machines. Unfortunately, my previous “big giant spinning disk for everything” build strategy can be problematic when transitioning to a smaller SSD for the OS and a larger disk for data. NTFS file layout issues, in particular, can be tough when moving to a new partition that is less than half the size of your old partition.
After fumbling through the procedure twice in a week, I decided to document my routine below. Hopefully this is helpful for more than just me.
Step 1 - Back Up!
Obviously, you need to back up your data before attempting any of these techniques. We are going to be fiddling with partition maps and file system metadata so the chance for catastrophic data loss is sky high. Back up anything you’re not willing to lose before proceeding.
Step 2 - Try It and See
There is a slight chance that everything will line up and you will be able to shrink to your desired size on your first try. If not, this will give you a good idea of the amount of work ahead.
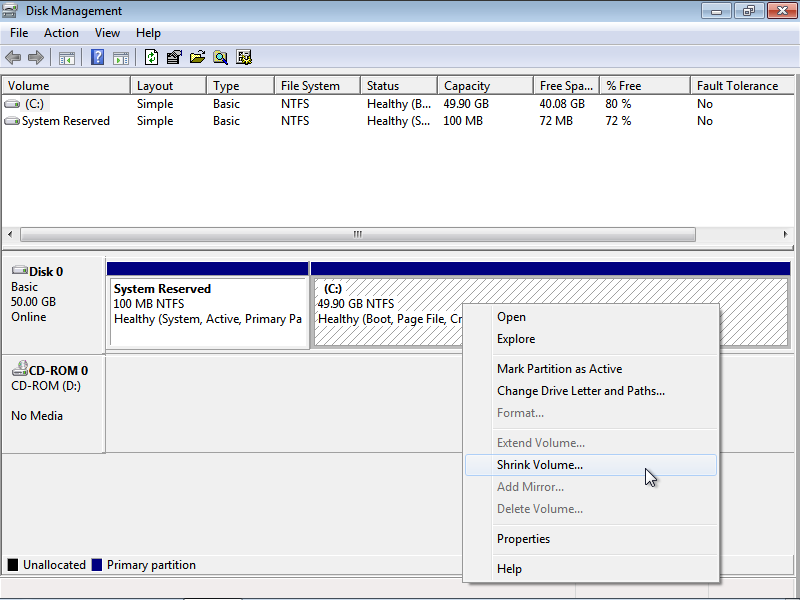
- Start > Run > “diskmgmt.msc”
-
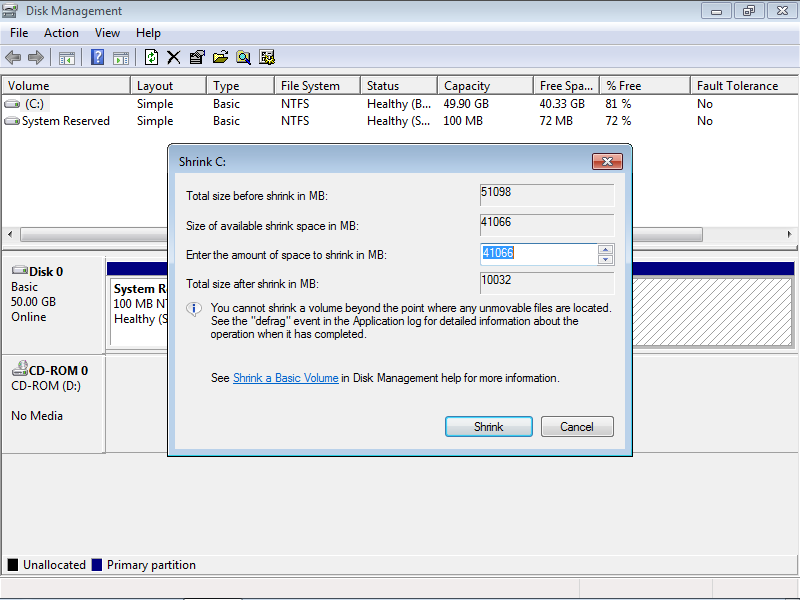
Right Click on the partition you would like to shrink and select “Shrink Volume”
-
Windows will scan your disk and show you your maximum shrink amount
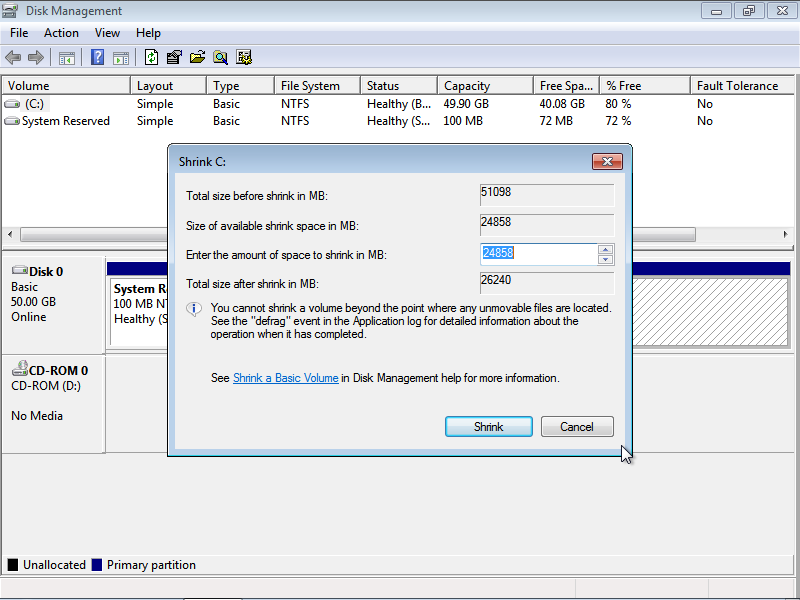
Step 3 - Review Preliminary Results
If this is far enough, congratulations! Shrink the disk and you’re set to jump to Step 6. If not, open up the event viewer to review the blocking file(s).
- Start > Run > “eventvwr.msc”
- Expand: Windows Logs > Application
-
Open the second most recent event in the “Defrag” source. It should include text like the following:
``` A volume shrink analysis was initiated on volume (C:). This event log entry details information about the last unmovable file that could limit the maximum number of reclaimable bytes.
Diagnostic details:
- The last unmovable file appears to be: \System Volume Information{74c24b89-2a53-11e4-9c81-080027beebb3}{3808876b-c176-4e48-b7ae-04046e6cc752}::$DATA
- The last cluster of the file is: 0x664cff
- Shrink potential target (LCN address): 0x27a9c6
- The NTFS file flags are: —AD
- Shrink phase:
To find more details about this file please use the “fsutil volume querycluster \?\Volume{60c383dd-2295-11e4-aeb2-806e6f6e6963} 0x664cff” command. ```
Step 4 - Prepare OS for Defragmentation
Regardless of the blocking file, disabling a few OS features will get rid of quite a few unmovable files before we begin defragmentation.
- Disable Page File
- Start > Run > “sysdm.cpl”
- Advanced Tab
- Performance Section > Settings
- Advanced Tab
- Virtual memory Section > Change
- Uncheck “Automatically manage paging file size for all drives”
- Select the drive you want to shrink
-
Select the “No paging file” radio button
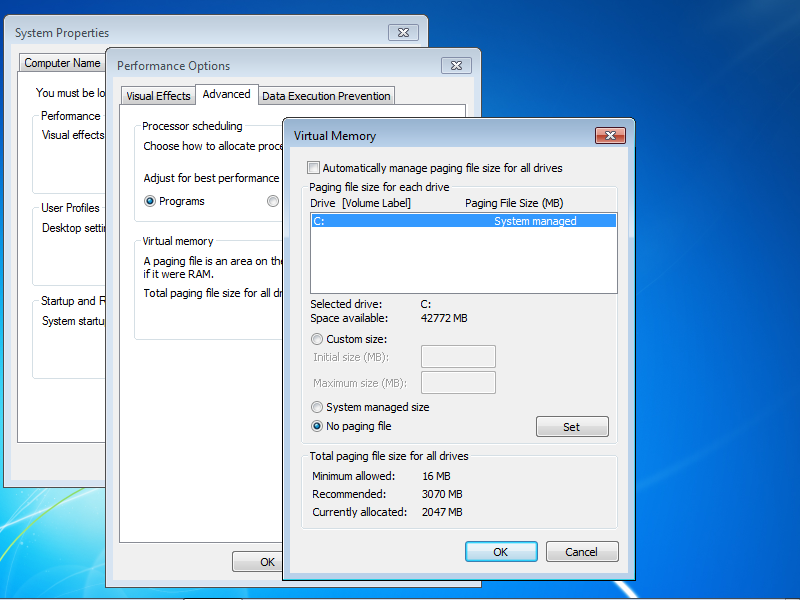
- Click “Set”
- Click Ok until all dialogs are closed and reboot
- Disable System Protection
- Start > Run > “sysdm.cpl”
- System Protection Tab
- Select the drive you want to shrink in the Protection Settings section
- Click “Configure”
-
Select the “Turn off system protection” radio button
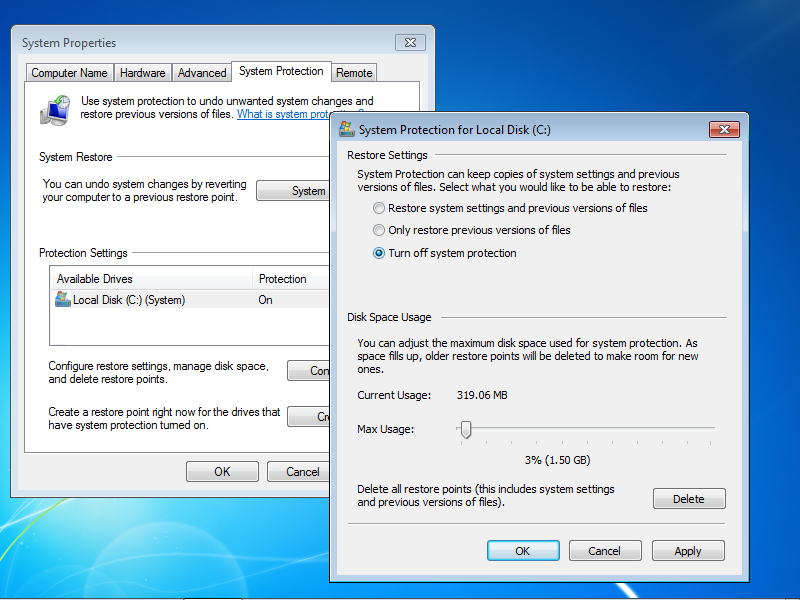
- Click OK, verify that you are sure, and reboot for good measure
Step 5 - Defragment
It’s time to compact our data now that a large chunk of system files have been removed.
- Download and install MyDefrag (freeware)
- Launch MyDefrag and enable the checkbox for the disk you would like to shrink
-
Select the “Analyze only” option and click “Run”
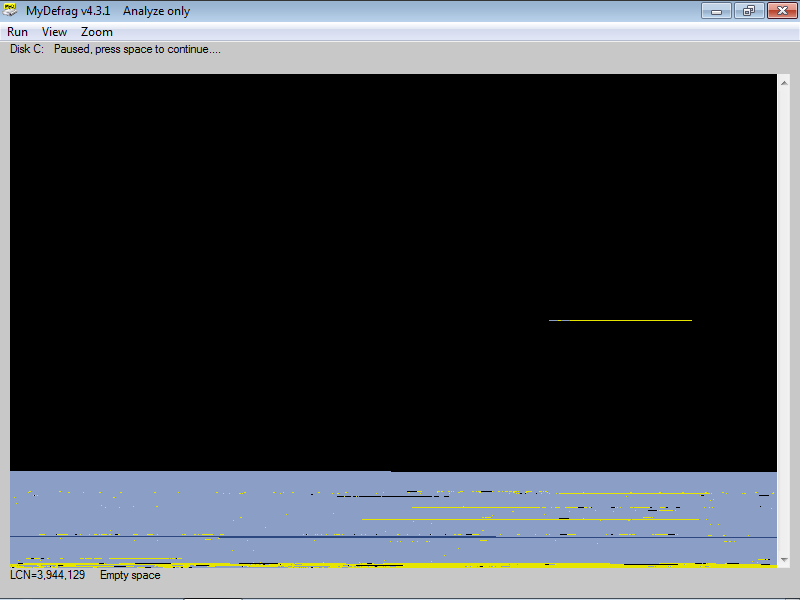
- Review your results. In my example, the disk looks pretty good. The problem files (yellow line about halfway down) are the only issues in the way of a shrink. A more heavily used disk will probably look much worse.
- Navigate back to the main MyDefrag screen and pick a defragmentation option
- “Consolidate free space” is good if you just need to move a few files around the problem area
- “System Disk Monthly” will thoroughly defragment the system but will probably run for quite a while
-
Run your chosen defragmentation option
-
Re-attempt a shrink (see step 2)
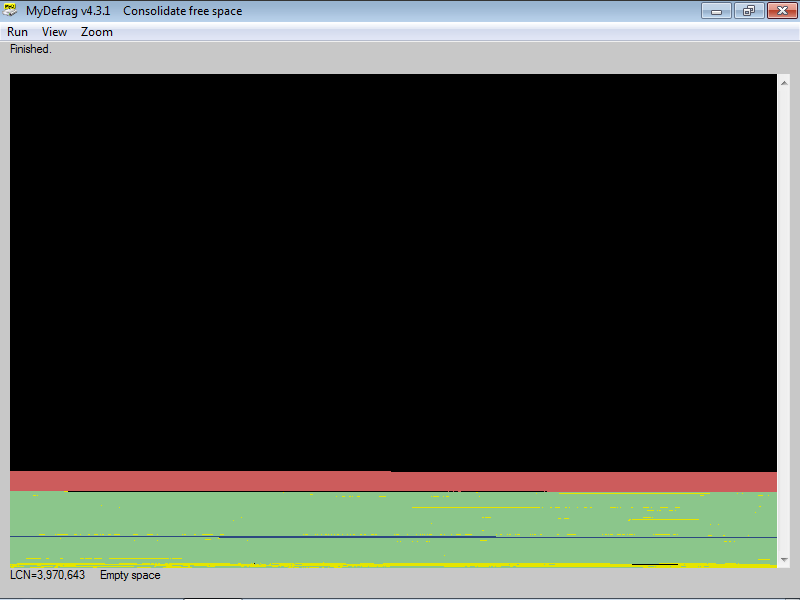
The “consolidate free space” defragmentation strategy yielded excellent results on my demo machine. As you can see, I was able to recover almost all the free space in my partition. Shrinking this disk should give me plenty of room on the new, faster, and smaller disk.
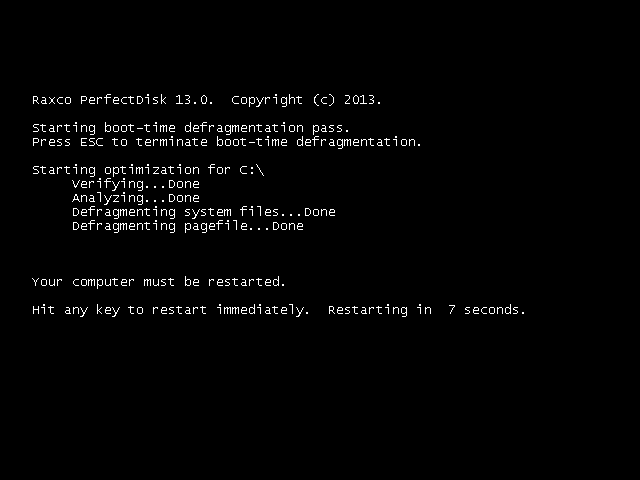
Possible Additional Step - PerfectDisk Defragmentation
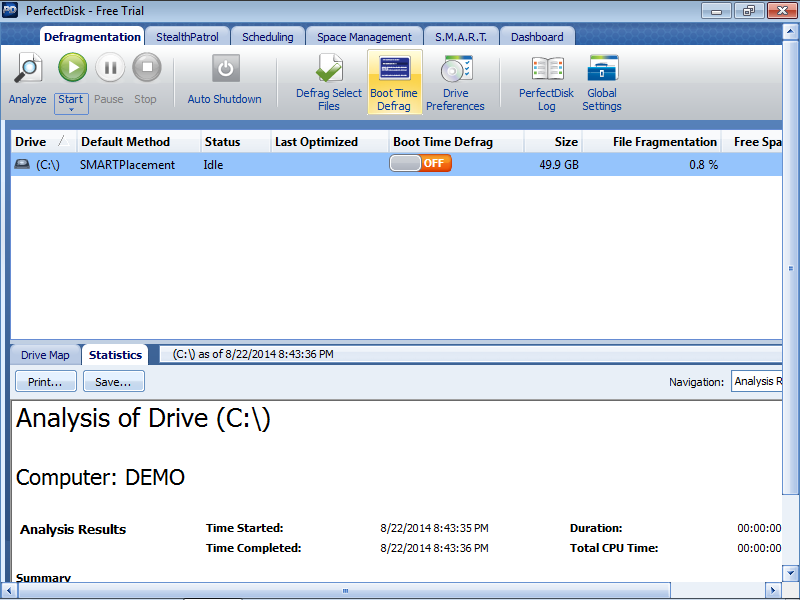
MyDefrag isn’t always able to provide a clean shrink. In these cases, it’s time to bring in the big guns. PerfectDisk by Raxco includes a boot time defragmentation tool that can clean up tenacious system files. It also has a free trial.
- Download and install PerfectDisk
-
Launch PerfectDisk
-
Click the “Boot Time Defrag” icon and restart
- Shrink again (see step 2)
Step 6 - Copy Data to New Disk
It’s time to copy data now that the source partition is small enough to fit on the new drive. If the source partition is still not small enough, repeating the defragmentation and shrink steps above may help.
We’re going to use the GParted Live CD to move our boot and Windows partition.
- Download the GParted Live CD and install it to your medium of choice
- Boot into GParted
-
Select the boot partition (“System Reserved”, 100 megs) on your source drive and click “Copy”
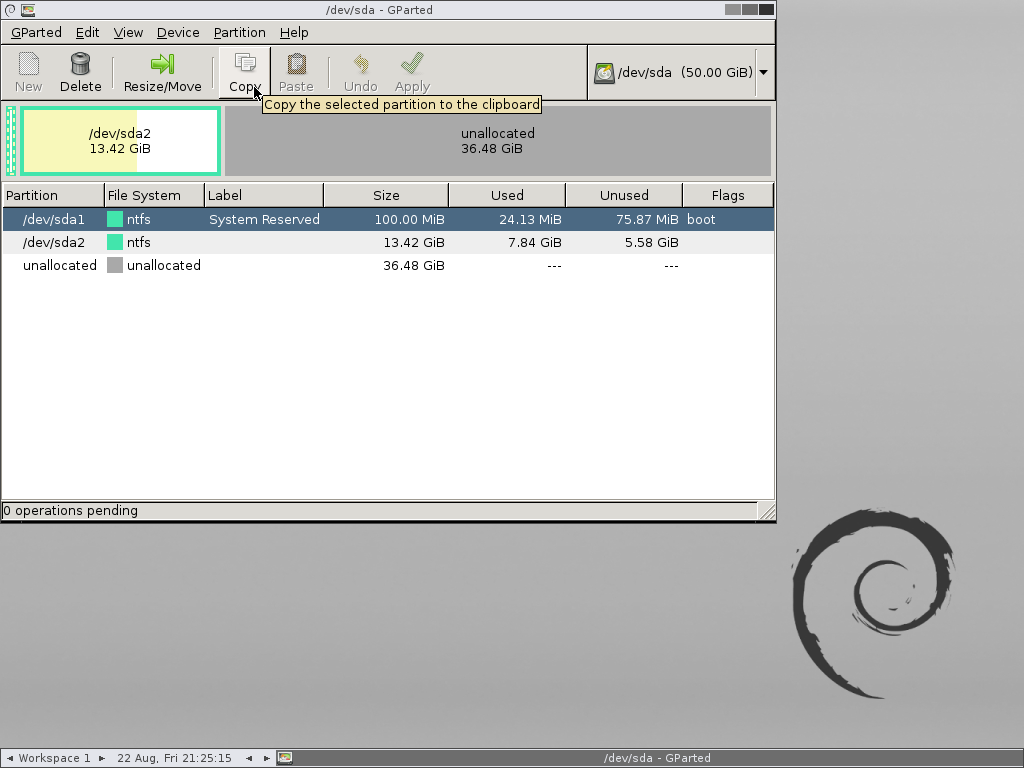
- Navigate to your target disk and click “Paste”
- Navigate back to your source disk, select your Windows partition, and click “Copy”
- Navigate to your target disk and click “Paste”
-
Ensure that your target disk contains both your boot and Windows partition as follows. We will expand the partitions later.
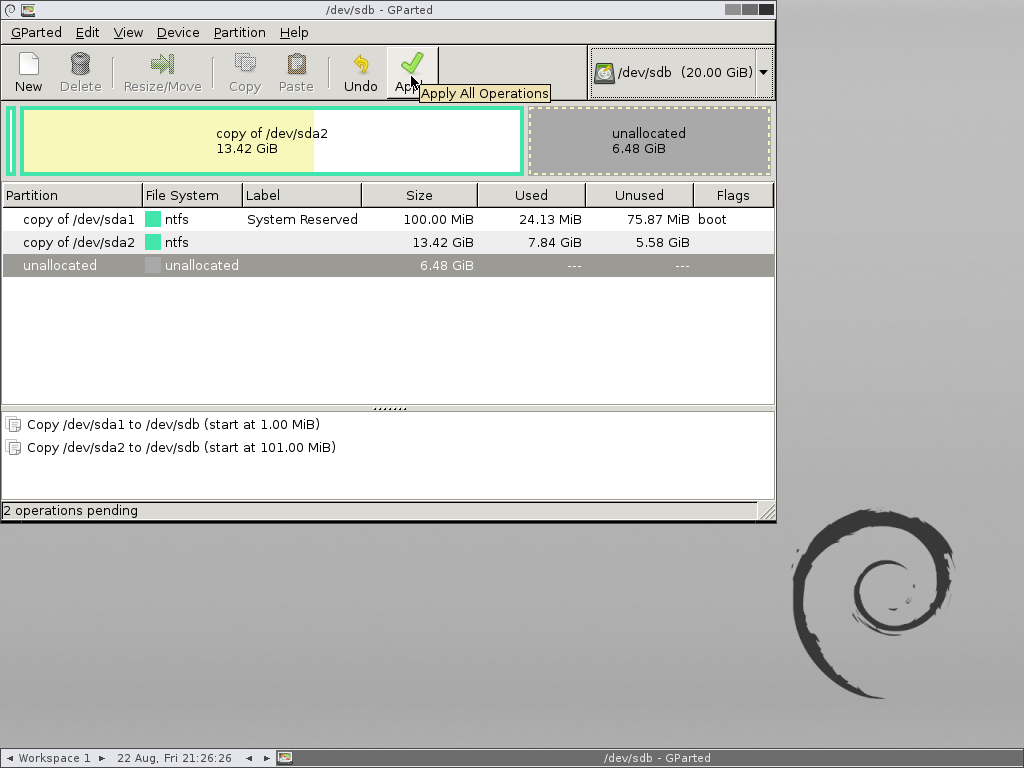
- Click “Apply” and wait for your data to copy
- This link should help if GParted complains that “This disk contains mismatched GPT and MBR partitions”: Clonezilla to image SSD fails with MBR/GPT mismatch - Overclockers UK Forums
- Shut the machine down and remove your source disk
Step 7 - Booting the New Disk
At this point, your system may boot up and run correctly. If not, we will use a Windows install or repair disk to clean up the boot information.
- Shut down the machine
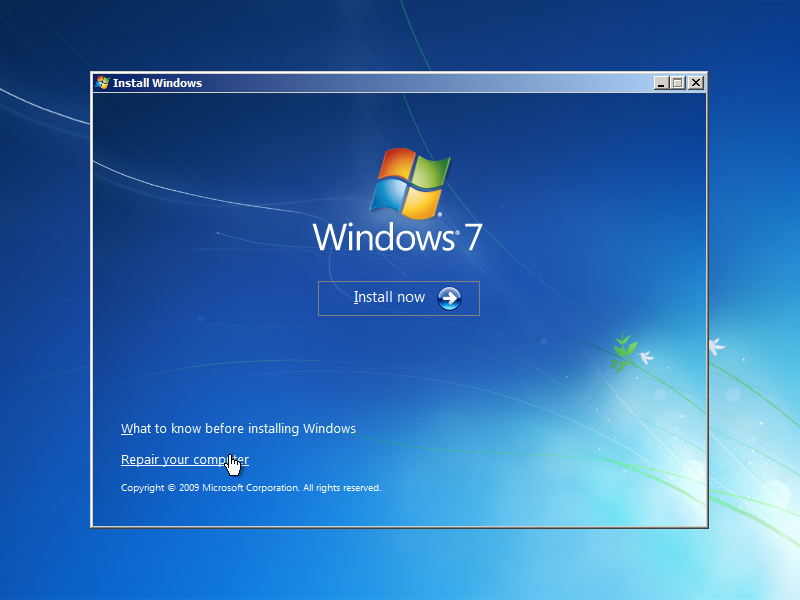
- Boot to the Windows install or repair disk
-
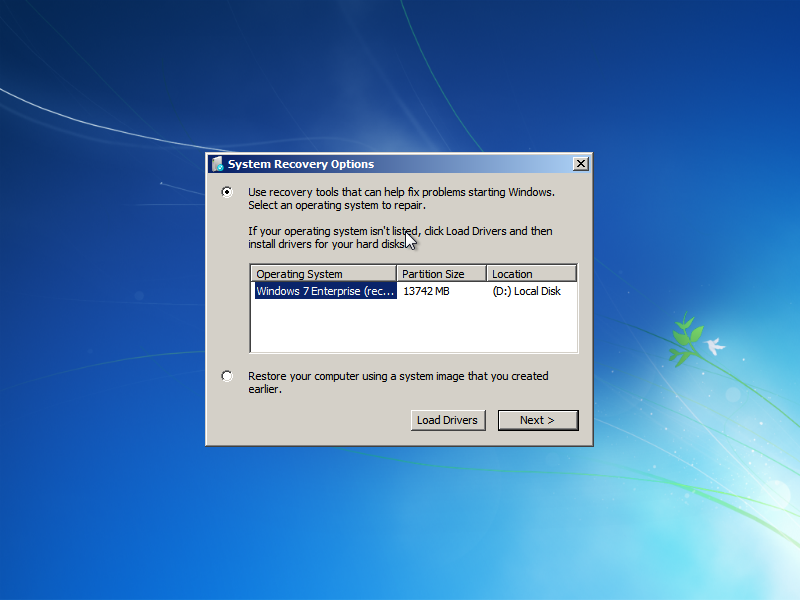
Choose “Repair your computer” at the install screen
- Select the “Use recovery tools” radio button
-
Click “Next >”
- Click “Startup Repair”
- Allow the repair process to run. Click “Finish” when complete.
Step 8 - Restoring Functionality
- Now that the new disk is back up and running, you will want to reverse the steps taken to disable System Protection and the page file in Step 4
-
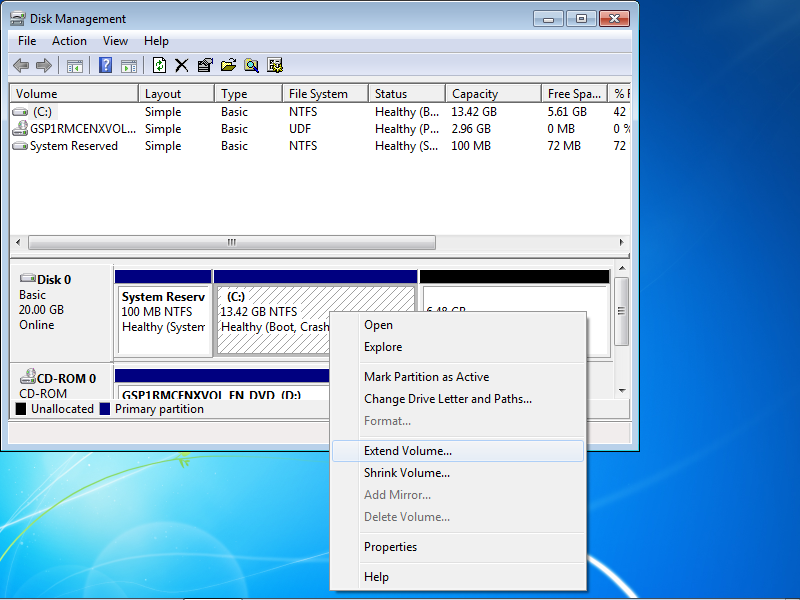
Additionally, you should be able to increase the size of the main partition to the rest of the disk via the “Extend Volume” functionality on the disk context menu in the Disk Management screen
References
- Working Around Windows Vista’s “Shrink Volume” Inadequacy Problems
- Clonezilla to image SSD fails with MBR/GPT mismatch - Overclockers UK Forums
I hope this long and rambling guide is useful to other folks. I know that I’ll probably use it myself in the near future.
comments powered by Disqus